We have already shown here on the blog how we collect beeswax from our beehives and how we clean the beeswax so that it can be used. We've also shown how to use beeswax in small amounts to make natural moisturizer. But did you know that beeswax can be a pain to use when it is no longer new? That's why it's good to store it in pellets, i.e. granulated form. Before we show you how to do it, you might also like to read our post How to Clean Beeswax: Melting, Filtering, and Storing. At the end of this post, you can also watch the step by step video on how to store beeswax pellets.
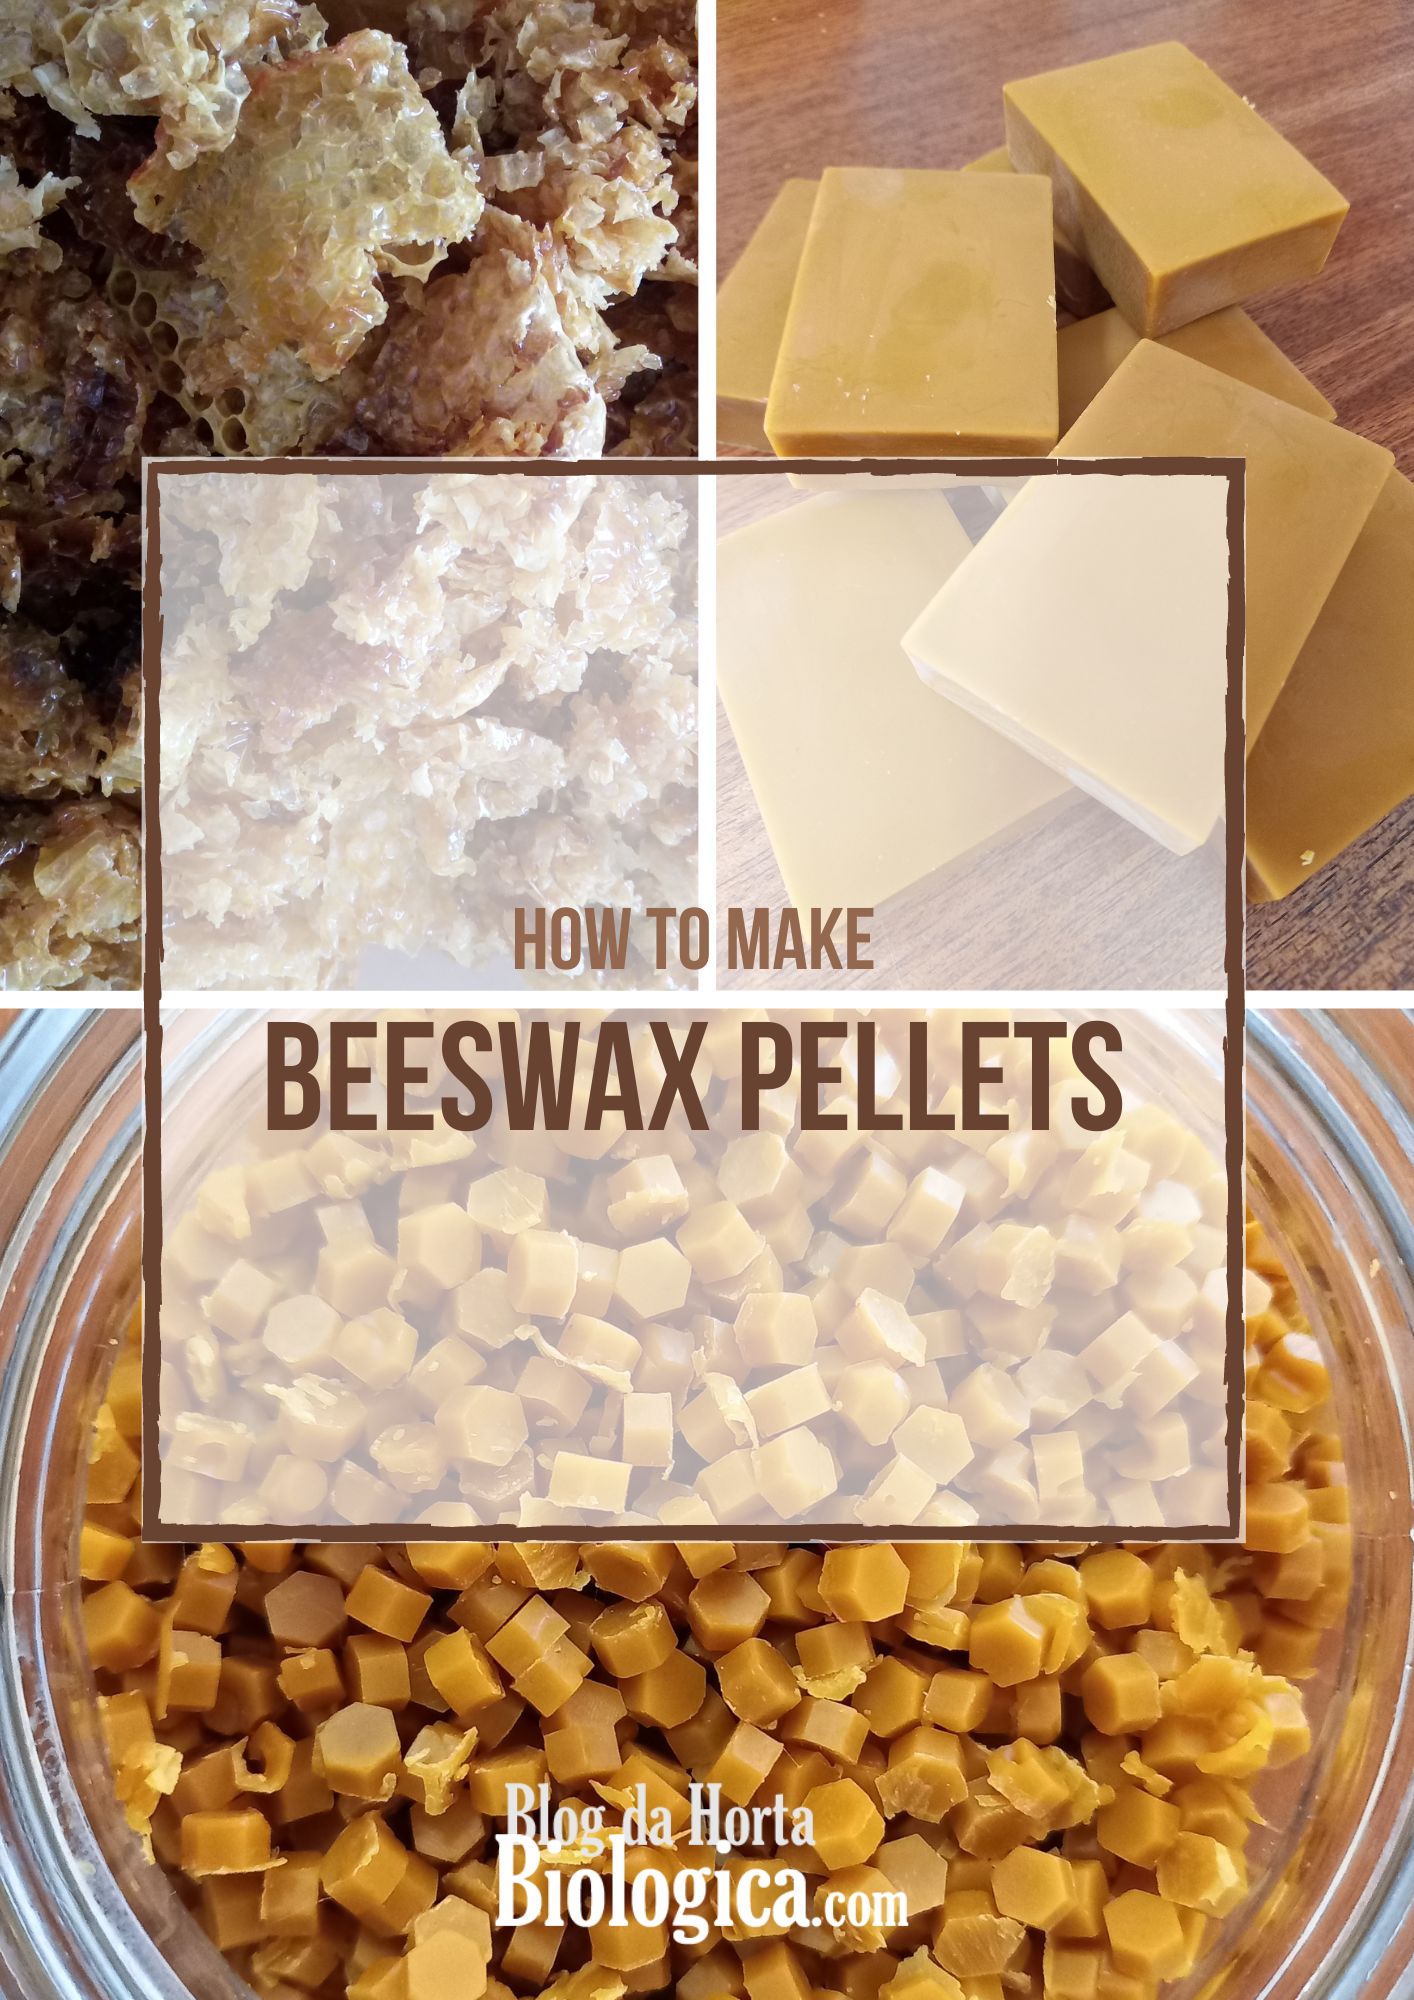
So let's take a look at this homemade method for making these pellets!
Materials
- Beeswax already clean (the amount is the one you have available or the one you want to melt)
- 1 pan with water up to 2 inches high
- 1 melting pot proper for melting beeswax (alternatively, a Pyrex can be used)
- 1 silicone mold suitable for making pellets (we used trivets for this purpose)
- 1 spatula or similar object for spreading the wax in the mold
- 1 paper towel or sheet of parchment paper
- 1 airtight jar for storing the wax
Method
- Put the beeswax in the melting pot and let it melt it in the pan, in a water bath. The melting point of beeswax is at 70°C (158ºF).
- Pour the wax into the mold and spread it with the help of a spatula. The wax should be well distributed throughout the mold.
- Allow to cool completely.
- Once cold, remove the pellets from the mold using a sheet of paper underneath.
- With all the pellets on the sheet of paper, carefully pass them into an airtight jar.
- Store the jar in a cool, dry place.
Beeswax pellets make it easy when we want to use it in small amounts. You might like to watch our post and video Natural Moisturizing Cream | Step by Step Tutorial | Recipe For All Skin Types where we show you how to use beeswax to care for your facial skin.
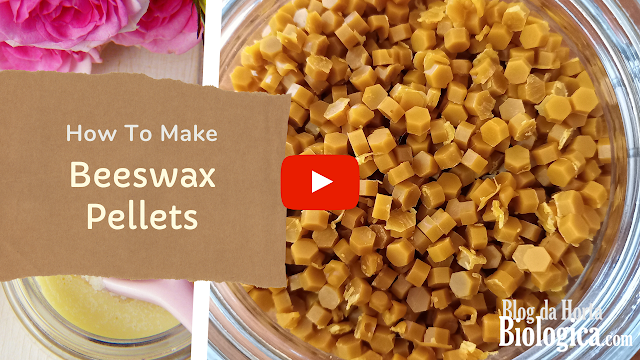
Here is our video where we show you everything!
Sem comentários:
Enviar um comentário